Overcoming Default Face Syndrome in AI Art
Introduction
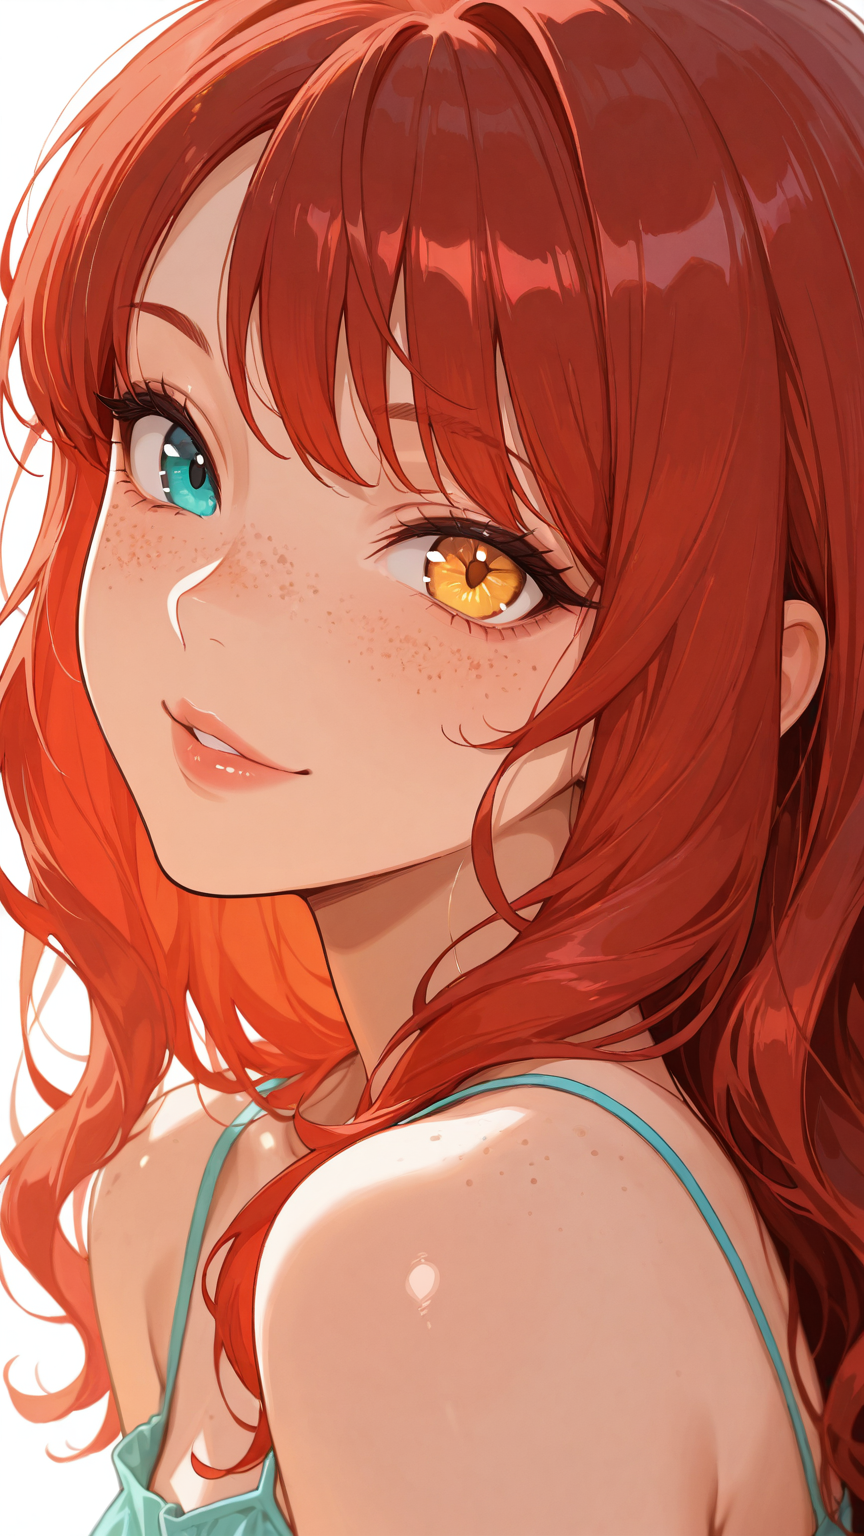
Every AI model has a “default face.” You know the one. She’s pretty, she’s forgettable, and she looks exactly like every other AI-generated character. Here’s how to break out of that.
If you’ve generated more than a handful of images, you’ve already seen it happen. You change the hair, the outfit, the pose, the background — and somehow the face stays the same. Same slightly upturned nose, same smooth skin, same vaguely Eastern European features, same expression that lands somewhere between “pleasant” and “vacant.” It’s not a bug, exactly. It’s a natural consequence of how these models are trained. But it’s also the single biggest obstacle to creating characters that feel like individuals rather than reskinned clones.
I’ve been digging through nobin’s experiments with ADetailer, FaceDetailer, and various face-specific techniques, and the good news is this problem is very solvable. You just need to know where to push.
What Causes Default Face Syndrome
Understanding the problem helps you fight it more effectively.
Training data bias. AI models learn faces from their training datasets, and those datasets are not evenly distributed. Certain face types — typically young, conventionally attractive, symmetrical — appear far more frequently than others. When the model doesn’t get strong guidance about what face to generate, it falls back to this statistical average. That’s your “default face.”
Prompt underspecification. If your prompt says 1girl, beautiful face and nothing more specific, you’re essentially asking the model to generate “the average beautiful face.” Of course it converges on the same result every time. The model needs specific direction to break out of its comfort zone.
Low resolution face generation. At standard generation resolutions, faces occupy a relatively small number of pixels. The model doesn’t have enough room to render distinctive features, so it defaults to a smooth, generic representation. This is why faces often look better after upscaling or targeted refinement — more pixels means more room for detail.
CFG and sampler effects. Higher CFG values push the model toward “safe” generations that closely match training data averages. Lowering CFG slightly (from 7 to 5-6, for instance) can introduce more variation, though you’ll need to balance this against prompt adherence.
Technique 1: Specific Facial Feature Tags
The most straightforward fix is also the most effective: tell the model exactly what face you want.
Instead of vague descriptors, use specific facial feature tags:
Eyes:
narrow_eyes,wide_eyes,droopy_eyes,sharp_eyesheterochromia(different colored eyes — instant distinctiveness)thick_eyelashes,no_eyelashesbags_under_eyes,crow's_feet(for older characters)
Nose and mouth:
button_nose,aquiline_nose,wide_nose,flat_nosethin_lips,full_lips,smirk,crooked_smilefreckles,beauty_mark,facial_scar
Face shape and features:
round_face,oval_face,angular_face,heart-shaped_facehigh_cheekbones,strong_jawline,pointed_chin,double_chindimples,wrinkles,laugh_lines
The key insight: stack multiple specific tags rather than relying on one. narrow_eyes, aquiline_nose, thin_lips, angular_face produces a dramatically different face than any of those tags alone. You’re building a composite description that pushes the model away from its default.
Technique 2: Ethnicity and Age Modifiers
This is where many people stop short, but it’s one of the most powerful tools for face diversity.
Ethnicity descriptors significantly change facial structure, skin tone, and feature proportions:
east_asian,south_asian,african,middle_eastern,latina,scandinavian- More specific:
japanese,korean,nigerian,mexican,swedish
Age modifiers are equally important:
child,teenager,young_adult,middle-aged,elderly- More nuanced:
mature_woman,weathered_face,youthful
Combining ethnicity and age creates faces the model almost never generates by default. A middle-aged korean woman with laugh_lines and narrow_eyes looks nothing like the default face. Neither does an elderly scandinavian man with deep-set_eyes and a weathered_face.
A word of caution: Some model families handle ethnicity tags better than others. Illustrious-based models (discussed in our character creation guide) tend to respond well to these tags. Older models may produce stereotypical or inconsistent results. Always review your output critically.
Technique 3: Face LoRAs
When tags alone aren’t enough, face-specific LoRAs give you fine-grained control.
Celebrity/character likeness LoRAs trained on specific people produce immediately distinctive faces. Even at low weights (0.3-0.4), they push facial features away from the default and toward recognizable human variation.
Style-specific face LoRAs change how faces are rendered without targeting a specific likeness. Some LoRAs specialize in more realistic facial rendering within anime models, or add specific artistic qualities to how features are drawn.
How to use face LoRAs effectively:
- Start at low weight (0.2-0.3) and increase gradually
- Combine with specific facial tags — the LoRA provides the overall face shape and feel while tags control specific features
- Test the LoRA with and without your other LoRAs to check for conflicts
- Face LoRAs interact with checkpoint choice — a face LoRA might produce great results with one Illustrious checkpoint and mediocre results with another
The blending trick: Use two face LoRAs at very low weights (0.15-0.2 each) to create a face that looks like neither reference but has elements of both. This produces genuinely unique faces that no single LoRA could create on its own.
Technique 4: ADetailer and FaceDetailer
This is where nobin’s research gets really practical. ADetailer (in A1111/Forge) and FaceDetailer (in ComfyUI) are tools that automatically detect faces in your generated image and re-generate just that region at higher quality.
What ADetailer does:
- Detects faces using a YOLO model (like
face_yolov8n.pt) - Crops the detected face region
- Re-generates that region using inpainting
- Composites the improved face back into the original image
Why this matters for default face syndrome: You can use different prompts in the ADetailer pass than you used for the main generation. This means you can:
- Generate the body and scene with one set of prompts
- Apply face-specific detail prompts during the ADetailer pass
- Use a face LoRA only in the ADetailer pass, keeping the rest of the image LoRA-free
Key ADetailer parameters from nobin’s testing:
- Detection model:
face_yolov8n.ptfor general use (handles both anime and realistic styles) - Inpaint denoising strength: 0.3-0.4 preserves the original face while improving quality; 0.5-0.6 allows more significant changes. Going higher risks losing the character entirely
- Mask dilation: Expanding the mask slightly (positive values) ensures the face blends smoothly with surrounding areas like hair and neck
- Confidence threshold: Lower values (0.3) catch more faces but may produce false positives; higher values (0.5+) are more selective
In ComfyUI — FaceDetailer:
The ComfyUI equivalent is the FaceDetailer node from the Impact Pack. As covered in our img2img guide, FaceDetailer automatically detects and re-generates faces in your workflow pipeline. The advantage in ComfyUI is that you can chain it — run your main generation, then FaceDetailer, then a chase sampler — all in one workflow.
The face LoRA + ADetailer combo: Apply a face LoRA only in ADetailer’s prompt field. This changes the face without affecting the rest of the image. It’s the most targeted way to override the default face — the body, clothing, and background stay exactly as generated while the face gets completely reworked.
Technique 5: Negative Prompts for Generic Features
Don’t just tell the model what you want — tell it what you don’t want.
Negative prompts that fight the default face:
generic_face,same_face,symmetrical_face(pushes toward more natural asymmetry)smooth_skin(when you want texture and character)perfect_face(counterintuitively, this can help — “perfect” often means “average”)doll-like,plastic_skin,airbrushed
Negative embeddings are even more effective than text prompts. Quality embeddings like EasyNegative and BadDream contain learned representations of common AI artifacts, including generic facial features. Adding these to your negative prompt (covered in depth in our embedding optimization guide) is like having an automatic “don’t be generic” filter running on every generation.
The combination approach: Use specific positive prompts for the face you want AND negative prompts against the face you don’t want. This pushes from both directions simultaneously.
Putting It All Together: A Face Diversity Workflow
Here’s the workflow I’d recommend based on nobin’s techniques:
- Start with specific facial tags — don’t leave the face to chance. Include at least 3-4 specific facial feature descriptors
- Add ethnicity and age context — even if subtle, this prevents convergence on the training data average
- Generate at your target resolution — give the model enough pixels to work with
- Run FaceDetailer/ADetailer — use face-specific prompts and optionally a face LoRA in this pass
- Apply negative prompts against generic features
- Final chase sampler pass — blend everything together at low denoise (0.2-0.3)
For batch generation, combine this with wildcard systems — create wildcard files for facial features, ethnicities, and ages, then let the system generate hundreds of variations. Curate the best results and you’ll have a gallery of genuinely diverse characters.
How This Connects to AI Companion Platforms
Default face syndrome is a critical problem for companion platforms. The entire value proposition of an AI companion rests on the user forming a connection with a specific character — and that connection starts with a face that feels distinctive and recognizable.
Think about it: if your companion looks like every other AI-generated character, it undermines the sense that this is your companion. The face needs to be distinctive enough to be immediately recognizable, consistent enough to maintain identity across different images, and personal enough that it feels like it belongs to this character and no one else.
Platforms that solve this well — typically by using character-specific face LoRAs and targeted refinement passes similar to what we’ve described here — deliver a much more personal experience. Platforms like Candy.AI and YUKIKO.AI invest in these techniques because they know that face distinctiveness directly impacts user engagement and retention.
The techniques in this guide are the same ones powering that distinctiveness behind the scenes. Whether you’re building your own characters or simply want to appreciate the craftsmanship behind your favorite companion platforms, understanding how faces are differentiated gives you a deeper appreciation for what separates competent AI art from truly compelling character design.
For more on the models and tools referenced here, see our guide to ComfyUI model types and our character creation guide with Illustrious.
Credits & Source
This guide is adapted from nobin’s original Japanese articles on note.com/nobinlog. His systematic testing of ADetailer parameters and FaceDetailer workflows provided the technical foundation for the face refinement techniques covered here.
Check out his original posts for full visual examples: