IPAdapter Style Blending: A Visual DNA Approach
Introduction
Okay, so here’s where things get weird — in the best way possible.
You know how in Dragon Quest Monsters you can breed two creatures together and get something totally new? A Dragon plus a Slime gives you a Dragon Slime, and depending on the stats, you get all sorts of variations? That’s basically what IPAdapter does with art styles.
I stumbled into IPAdapter Plus while messing around in ComfyUI, and honestly, I wasn’t expecting much. I’d used Reference Only back in the SD 1.5 days and it was… fine. Nothing to write home about. But IPAdapter on modern models is a completely different beast. It’s so good that people call it a “one-image LoRA” — you feed it a single reference image and it transfers that visual style onto your generation. No training required. No waiting for epochs. Just load an image and go.
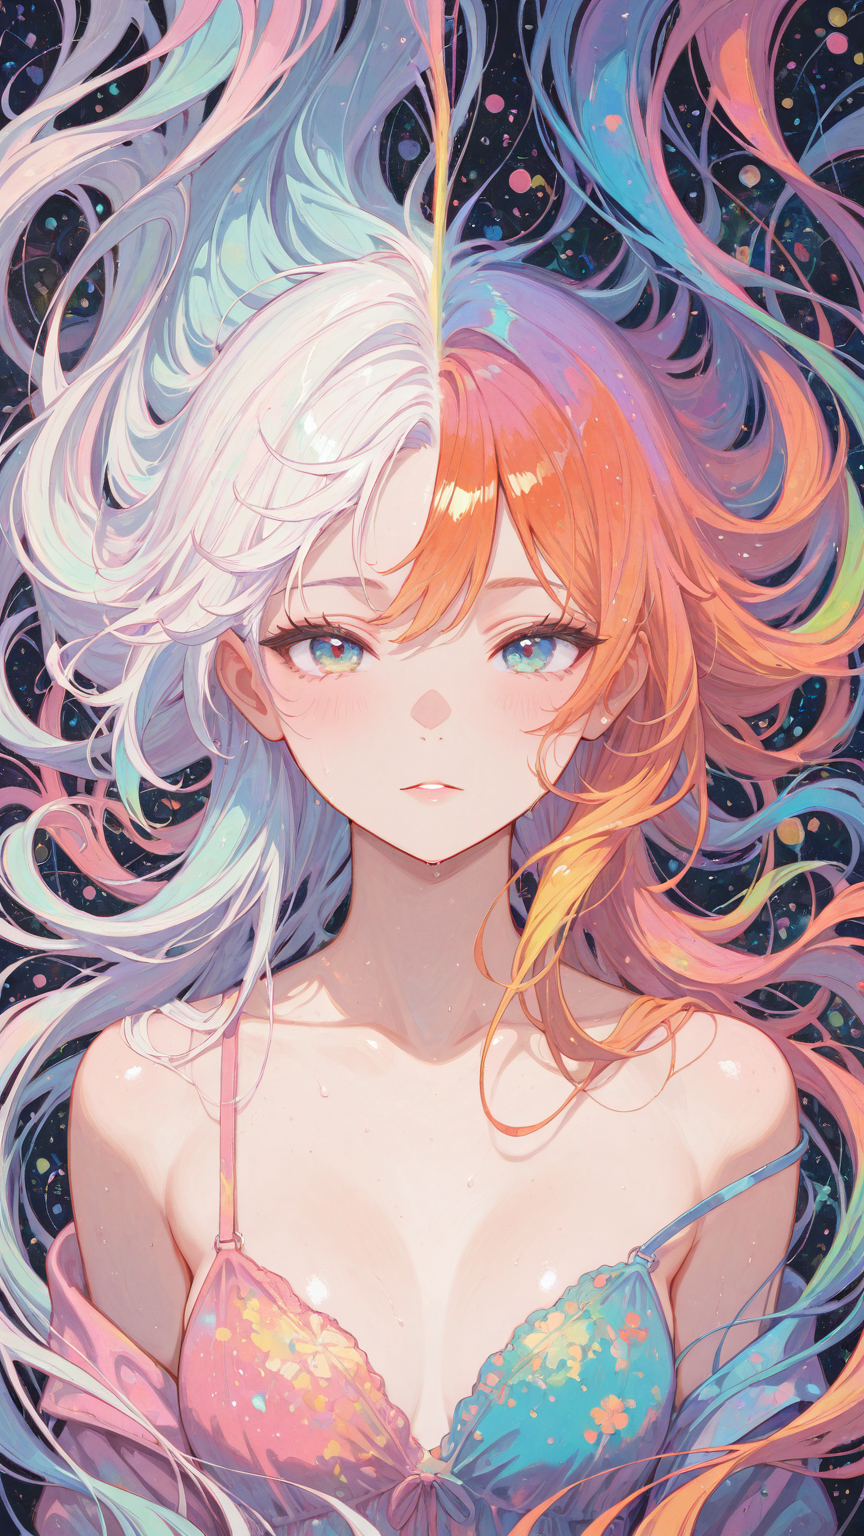
Think of it like mixing visual DNA. You take your base character (creature A), throw in a reference image (creature B), and let the AI figure out what their baby looks like. The results range from “oh that’s nice” to “I did NOT expect that” — and I mean that in a good way.
Let me show you how it works.
IPAdapter vs LoRA: What’s Actually Different?
Before we dive in, let’s clear up the most common confusion. LoRAs and IPAdapter both change how your image looks, but they work in fundamentally different ways:
LoRAs are pre-trained weight modifications. Someone spent hours (or days) training a model on specific images, and that training gets baked into a file you load. It’s precise, consistent, and the style holds across different poses and compositions. But you need someone to have trained it first.
IPAdapter is dynamic, one-shot conditioning. You give it a reference image — any image — and it extracts the visual style in real time. No training. The tradeoff? It’s not quite as strong or consistent as a well-trained LoRA. But the flexibility is unreal. Any image becomes a style reference instantly.
The technical bit: IPAdapter connects to your KSampler through the MODEL input, just like a LoRA would. It uses a CLIP Vision model to “understand” your reference image and then conditions the diffusion process to follow that visual style. That’s why it feels like a LoRA — it plugs in the same way — but it’s doing something completely different under the hood.
Setting Up the Basic Workflow
Here’s what you need in ComfyUI:
- Load Image node — for your reference (style) image
- Load CLIP Vision node — this is how IPAdapter “sees” the reference
- IPAdapter Model Loader — loads the IPAdapter model itself
- IPAdapter Advanced — the main node where the magic happens
The IPAdapter Advanced node’s MODEL output connects to your KSampler. That’s the whole setup. Seriously. Four nodes and you’re breeding monsters.
For the base image (creature A), you use a standard txt2img setup with a fixed seed. This is important — you want creature A to be completely stable so you can see exactly what creature B’s influence looks like. Lock down the seed, fix the prompt, eliminate any wildcards. Pure consistency.
Then creature B is whatever reference image you load. Swap it out, get a different offspring. It’s that simple.
The Three Settings That Matter Most
The IPAdapter Advanced node has a bunch of parameters, but for style blending, you really only need to focus on three:
Weight (0.0 to 5.0)
This is how strongly the reference image influences the output. Think of it as the “how much DNA from creature B” dial.
- Weight 1.0–2.0 — Subtle style influence. The reference adds flavor without overpowering your base.
- Weight 3.0–4.0 — Strong influence. The output clearly takes after the reference image’s style. This is usually the sweet spot for interesting results.
- Weight 5.0 — Maximum influence. The reference dominates. Lines get heavy, colors shift dramatically. I was curious what would happen at max weight and… the results were intense. Bold lines, dramatically shifted color palettes. Sometimes beautiful, sometimes too much.
Start At and End At (0.0 to 1.0)
These control when during the diffusion process IPAdapter kicks in and when it stops. This is subtler but incredibly powerful:
- start_at: 0, end_at: 1 — IPAdapter is active for the entire generation. Maximum influence but can get messy.
- start_at: 0.25, end_at: 0.85 — The sweet spot I kept coming back to. Lets the model establish basic structure first, then applies the style, and backs off near the end for cleanup.
- start_at: 0.5, end_at: 1.0 — Late application. The base image is mostly formed before the style kicks in, giving a lighter touch.
Here’s what surprised me: adjusting start_at and end_at by even 0.1 can dramatically change the output. It’s not just “more or less style” — it changes which aspects of the style transfer. Early application affects color and overall composition. Late application affects texture and fine details.
Weight Type: Style Transfer vs Strong Style Transfer
Two modes to know about:
- style transfer — Transfers the artistic style while mostly respecting your base prompt. Good for maintaining character identity.
- strong style transfer — Goes harder on style matching. Can change hair colors, skin tones, and other details to match the reference. Powerful but less controllable.
Fair warning from my testing: strong style transfer at high weights with early start values will absolutely override your prompt’s hair color and other details. If your character suddenly becomes blonde when they should be brunette, dial back the weight or push start_at later. It’s the reference image’s coloring bleeding through.
The Monster Breeding Technique: Blending Multiple References
Here’s where it gets really fun. You’re not limited to one reference image. IPAdapter can combine multiple images into a merged style — like breeding four monsters together to see what emerges.
The key is the combine_embeds setting in IPAdapter Advanced. You have two options:
Concat (Concatenation)
Each reference image maintains its individual influence. If you feed in four images, the output tries to honor all four separately. Think of it as a committee where everyone gets a vote.
Average
The reference images get blended into a single averaged style before being applied. This is usually smoother and more cohesive. Think of it as mixing the paint colors together first, then painting.
From my experiments, average tends to produce better results for style blending. Concat can get chaotic with more than two references because the model is trying to satisfy multiple competing style signals at once.
Here’s what happened when I tested this: I loaded four completely different reference images and blended them at maximum settings (weight 5, start 0, end 1, average). The result was… a mess. Beautiful chaos, but a mess. Pulling back to weight 5 with start 0.15 and end 0.85 gave much more usable results — the four styles merged into something that had elements of each but felt cohesive.
The real discovery? Mixing illustration references with realistic photos actually improves quality. I noticed that when I blended anime-style reference images with realistic photographs, the output had better body proportions and more refined textures than either style alone. The realistic reference seems to “ground” the illustration style in a way that just looks better. Honestly, this surprised me. This crossover between anime and realistic styles is explored in depth in our anime-to-realistic conversion guide.
Practical Tips I Learned the Hard Way
Your time will evaporate. I’m serious. IPAdapter tweaking is incredibly addictive because every small parameter change produces a different result. Set a timer. Decide on your settings, run a few tests, then commit and move on to posing and composition. Otherwise you’ll spend three hours adjusting weight from 3.2 to 3.3 to 3.4.
Document your settings. I started naming my output files with the IPAdapter parameters so I could actually remember what produced what. Something like w4_s025_e085_avg.png. Trust me, after fifty variations they all blur together.
LoRA is still better for consistency. Let’s be honest — if you have a well-trained style LoRA, it will produce more consistent results across different poses and compositions than IPAdapter. Where IPAdapter shines is experimentation. You can try any reference image instantly without training. Use IPAdapter for exploration, then train a LoRA once you’ve found a style you love. For practical LoRA stacking techniques, see our LoRA combination recipes guide.
Weight balance matters more than total weight. When breeding multiple references, I got better results with moderate weights (3–4) than maximum (5). Higher weights introduce more artifacts and make the output harder to control. The sweet spot for multi-image breeding was weight 4–5 with a tighter start/end window.
How This Powers AI Companion Platforms
Here’s the connection you might not have thought about: IPAdapter is one of the key technologies behind AI companion platforms’ style flexibility.
When a platform like YUKIKO.AI lets you upload a reference photo and generate a companion that captures that “vibe” — the mood, the color palette, the artistic feel — they’re likely using something similar to IPAdapter under the hood. You’re not copying the reference image. You’re extracting its visual DNA and applying it to a new character.
This is also how some platforms offer “style mood boards” where you can pick multiple reference images and get a blended aesthetic. That’s the multi-image breeding technique in action — averaging multiple style embeddings to create something new.
The “one-image LoRA” capability means platforms can offer instant style customization without pre-training models for every possible aesthetic. A user uploads a reference, IPAdapter extracts the style, and suddenly their companion has that exact visual feel. It’s remarkably powerful for personalization.
For companion platforms focused on visual consistency, many combine IPAdapter for initial style exploration with trained LoRAs for the final production style. IPAdapter finds the direction; LoRA locks it in. It’s a workflow that gives users creative freedom while maintaining the quality needed for a consistent character.
Credits & Source
This guide is adapted from nobin’s original Japanese articles on note.com/nobinlog. We’ve translated and recreated his workflows to share these techniques with an English-speaking audience. His “monster breeding” metaphor for IPAdapter style blending is one of the most intuitive explanations of this technology we’ve come across.
Check out his original posts for even more depth, including detailed parameter comparisons and HTML reference sheets:
- モンスターの配合みたいに楽しめるIPAdapter Plus — The original “monster breeding” style blending guide
- IP-Adapter解体新書 — Deep-dive parameter analysis with comprehensive testing of every setting combination