ControlNet Fundamentals: Taking Control of Character Poses
Introduction
Here’s the thing about generating images with prompts alone: you’re basically playing roulette. You can type “character sitting with legs crossed, one hand on chin” all day long and the AI will interpret that differently every single time. Sometimes you get something close. Most of the time? Not even remotely what you had in mind.
That’s where ControlNet comes in, and honestly, once you start using it, going back to prompt-only generation feels like trying to give directions blindfolded. ControlNet lets you feed in a reference — a pose skeleton, a depth map, a line drawing — and the AI actually follows it. It’s the difference between “please maybe do this?” and “no, seriously, put the arm HERE.”
I spent way too long figuring out the right preprocessor settings, so let me save you the trouble.
What ControlNet Actually Does
At a technical level, ControlNet adds an extra conditioning signal to the diffusion process. Normally, the model only has your text prompt to go on. ControlNet gives it a visual guide — a structural map that tells it where edges should be, where the body is positioned, how deep things are in the scene.
Think of it like this: your prompt describes what to draw, and ControlNet describes where to put it.
The key insight is that ControlNet doesn’t just overlay a pose on top of your generation. It actually conditions the entire diffusion process from the start, guiding every step of the denoising. That’s why the results feel natural rather than pasted-on.
The Main Preprocessors: Your Toolkit
Different preprocessors extract different kinds of information from reference images. Each one has its sweet spot.
OpenPose — The Pose Skeleton
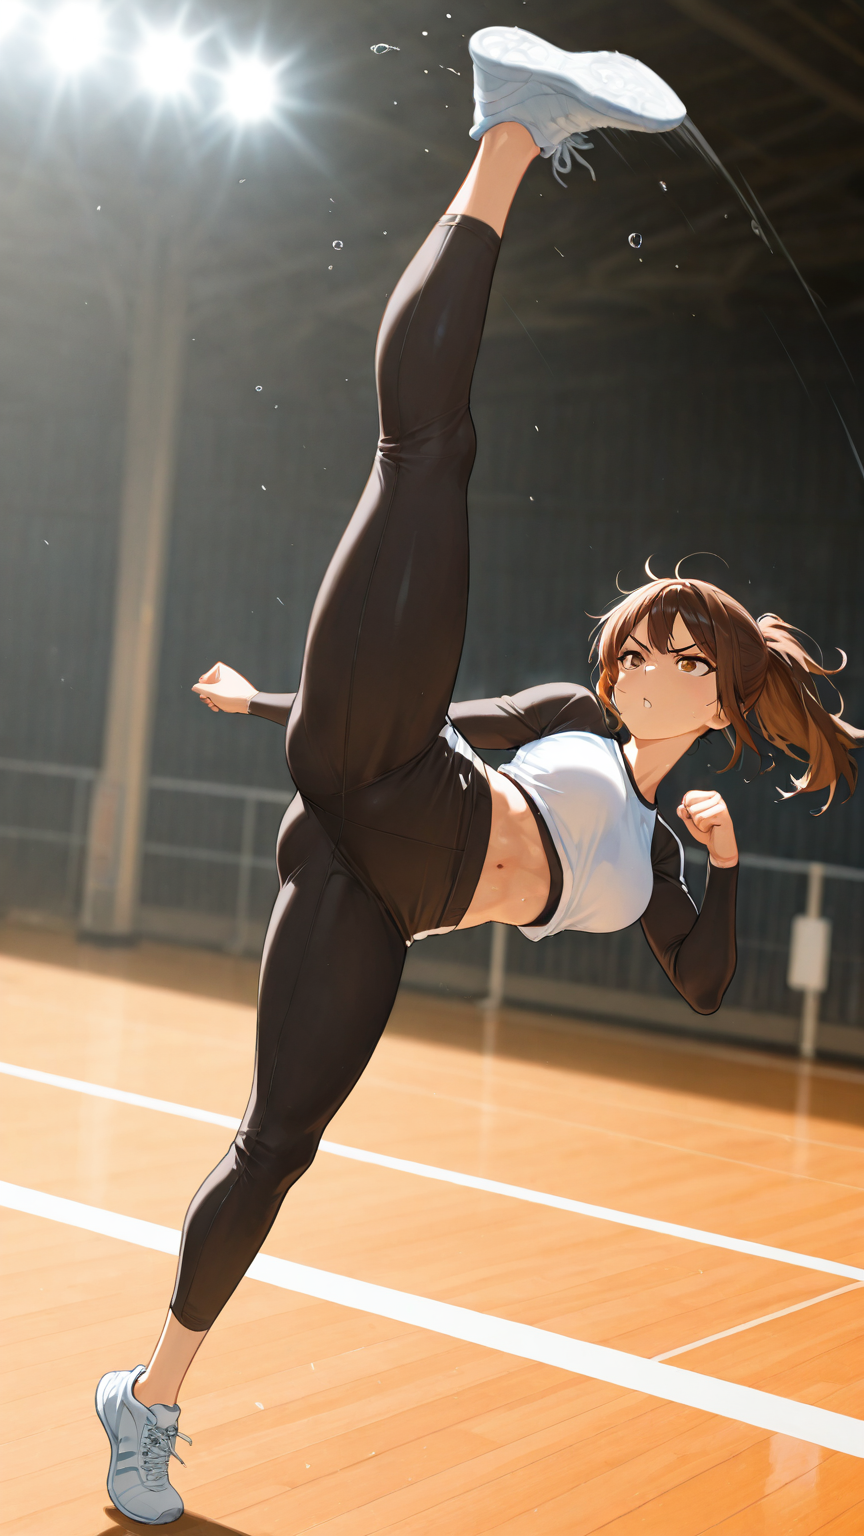
OpenPose extracts a stick-figure skeleton from your reference image — head, torso, limbs, and joint positions. It’s the go-to for character posing because it captures body position without constraining art style, clothing, or anything else about the character’s appearance.
When to use it: When you want a specific body pose but complete freedom over everything else. “I want my character in this exact stance, but make her a cyberpunk elf” — that’s an OpenPose job.
The catch: OpenPose can struggle with complex multi-person scenes. I ran into this hard when trying to generate two characters interacting — the quality dropped dramatically because the model was trying to reconcile two pose skeletons at once. Increasing step count didn’t help; the background kept eating up the detail budget instead of the characters.
Depth — The 3D Space Map
Depth preprocessing generates a depth map — light areas are close to the camera, dark areas are far away. It preserves the spatial relationship between elements without dictating exact edges or poses.
When to use it: When you care about composition and spatial arrangement more than exact poses. It’s great for scenes with foreground/background separation, environmental shots, or anything where you want to maintain “this thing is in front of that thing.”
Pro tip: Depth maps are more forgiving than line art for creative reinterpretation. The model has more room to improvise details while respecting the overall spatial layout.
Canny — The Edge Detective
Canny edge detection finds every sharp boundary in your reference image and creates a clean edge map. It’s the most precise preprocessor — what you see in the edge map is closely what you get in the output.
When to use it: When you need high fidelity to the reference composition. Architectural elements, specific object shapes, detailed background layouts. It’s precise, but that precision means less creative freedom.
LineArt — The Drawing Tracer
LineArt converts your reference into a clean line drawing, like an artist’s sketch. It sits between Canny (very precise) and OpenPose (very loose) in terms of how much it constrains the output.
When to use it: When you want the model to follow the general shapes and outlines of your reference while still having room to add its own detail, shading, and style. I’ve found it especially useful for fixing backgrounds — feed in a line art of the room layout, and the model fills in textures and lighting while keeping the furniture where you want it.
Setting Up a Basic ControlNet Workflow in ComfyUI
Here’s the practical walkthrough:
-
Load your reference image — This is the image you want to extract pose/structure from. It doesn’t need to be pretty; it just needs to show the pose or composition you’re after.
-
Apply the preprocessor — Connect your image to the appropriate preprocessor node (e.g., DWPreprocessor for OpenPose, MiDaS for Depth, Canny Edge for edges). This converts your reference into the structural map.
-
Load the ControlNet model — Use the “Load ControlNet Model” node to load the matching ControlNet model file (e.g., control_v11p_sd15_openpose for OpenPose).
-
Apply ControlNet — Use the “Apply ControlNet” node. Connect the preprocessed image, the ControlNet model, and your positive/negative conditioning from the text prompt.
-
Generate — Feed the conditioned output into your KSampler as usual.
That’s the basic chain: reference image → preprocessor → ControlNet model → conditioning → KSampler.
The Settings That Actually Matter
Strength
This controls how strongly the ControlNet influences the generation. Higher values mean stricter adherence to the reference structure.
- 0.4–0.6: Loose guidance — the model follows the general idea but takes liberties
- 0.7–0.9: Strong guidance — close adherence to the reference structure
- 1.0: Maximum influence — the model tries to match the reference exactly
I usually start at 0.8 and adjust from there. Too high and you get artifacts; too low and the model ignores your reference entirely.
Start/End Percentage
These control which portion of the sampling steps ControlNet is active during. This is something most tutorials skip, but it makes a huge difference.
- Start 0%, End 100%: ControlNet active the entire time (default, and usually fine)
- Start 0%, End 70%: ControlNet guides the early composition but lets the model refine details freely in the final steps — this often produces more natural-looking results
- Start 30%, End 100%: Skip early steps and let the model establish base colors/composition first, then apply structural guidance
The start/end range maps directly to the KSampler’s step count. If you have 30 steps and set end to 70%, ControlNet stops influencing after step 21.
The LoRA Interaction Problem
Here’s something that caught me off guard: ControlNet can weaken your LoRAs. When I was trying to combine ControlNet with style LoRAs, the LoRA effects were noticeably muted — almost like ControlNet was hogging the model’s attention.
The workaround I found: use the “chase sampler” technique from our img2img guide. Generate with ControlNet first, then run a second KSampler pass on the result with your LoRAs at full strength and denoise set to 1.0. The LoRAs apply properly on the second pass because ControlNet isn’t competing for influence anymore. The quality difference was dramatic — I was genuinely fist-pumping when this worked.
The Hires.Fix Question: Do You Need ControlNet in the Second Pass?
Short answer: no.
When you run Hires.Fix (upscale + re-sample), you’re doing img2img on your already-generated image. ControlNet’s job was to establish the composition in the first pass. In the Hires.Fix pass, the composition is already locked in — you’re just adding detail and resolution.
Connecting ControlNet to the Hires.Fix KSampler adds processing time without meaningful quality improvement. The denoise is too low for ControlNet to have much effect anyway. I tested this specifically: same image, with and without ControlNet in the second pass. Negligible difference. Skip it and save the processing time.
Connect your Hires.Fix KSampler to the original prompt conditioning (before ControlNet), not the ControlNet output conditioning.
Batch Processing: ControlNet + Wildcards
Once you’re comfortable with single-image ControlNet workflows, the next level is automating multiple poses. Instead of loading reference images one at a time, you can use wildcard nodes to cycle through a folder of pose references automatically.
The setup uses a “Load Image From Path” custom node combined with a wildcard processor. You define your pose image paths in a wildcard list:
line-art-poses:
  - /path/to/poses/standing.png
  - /path/to/poses/sitting.png
  - /path/to/poses/action.png
The wildcard processor randomly selects a path each generation, and the image loader fetches it for ControlNet. You can even pair pose images with matching prompts using the Negative Wildcard Processor node to split a single wildcard entry into an image path and a prompt — clever trick that saves a ton of manual work.
This is how you go from “generating one pose at a time” to “batch generating a character in 50 different poses overnight.” If you’re building original characters to pose, our Illustrious character creation guide covers how to design characters that hold up across different poses and scenes.
How ControlNet Powers AI Companion Platforms
If you’ve ever interacted with an AI companion that can look at you, turn to the side, wave, or strike different poses, ControlNet (or something very like it) is doing the heavy lifting behind the scenes.
Consistent character posing: When platforms like Candy.AI or YUKIKO.AI generate your companion in different poses, they’re not just hoping the prompt gets it right. ControlNet pose references ensure the character’s body position matches what’s expected — sitting when they should be sitting, gesturing when they should be gesturing.
Dynamic expressions: Facial poses and expressions benefit from the same technology. A reference expression map guides the model to generate the right emotion — surprise, happiness, thoughtfulness — consistently rather than randomly.
Scene compositions: When your companion appears in a specific room or setting, depth maps and line art references keep the spatial relationships correct. The character stays in front of the couch, not merged with it. The window stays in the background, not floating in the foreground.
Multi-angle consistency: ControlNet enables generating the same character from different viewpoints — front, three-quarter, profile — while maintaining identity. This is crucial for companion platforms that show characters from various angles during conversations.
Understanding ControlNet gives you a window into how these platforms achieve visual consistency at scale. And if you’re creating your own characters, it’s the tool that takes you from “I hope this works” to “I know exactly what I’m getting.” For more on the model types that work alongside ControlNet, check out our guide to ComfyUI model types.
Credits & Source
This guide is adapted from nobin’s original Japanese articles on note.com/nobinlog. We’ve translated and recreated his workflows to share these techniques with an English-speaking audience. nobin’s hands-on, try-everything approach to ControlNet — from battling multi-character quality drops to figuring out whether Hires.Fix really needs ControlNet conditioning — is exactly the kind of practical knowledge you won’t find in official documentation.
Check out his original posts:
- 誰も教えてくれないcontrolNetの基本と活用アイデアのガイドブック — The comprehensive ControlNet fundamentals guide
- controlNetで起きる2人描写時の最低品質になる際の対策 — Fixing quality issues with multi-character ControlNet scenes
- ComfyUIでHires.fix時にcontrolNetのポジティブとネガティブは繋ぐべきなのか? — The Hires.Fix + ControlNet investigation