Post-Upscaling Detail Enhancement: From Good to Stunning
Introduction
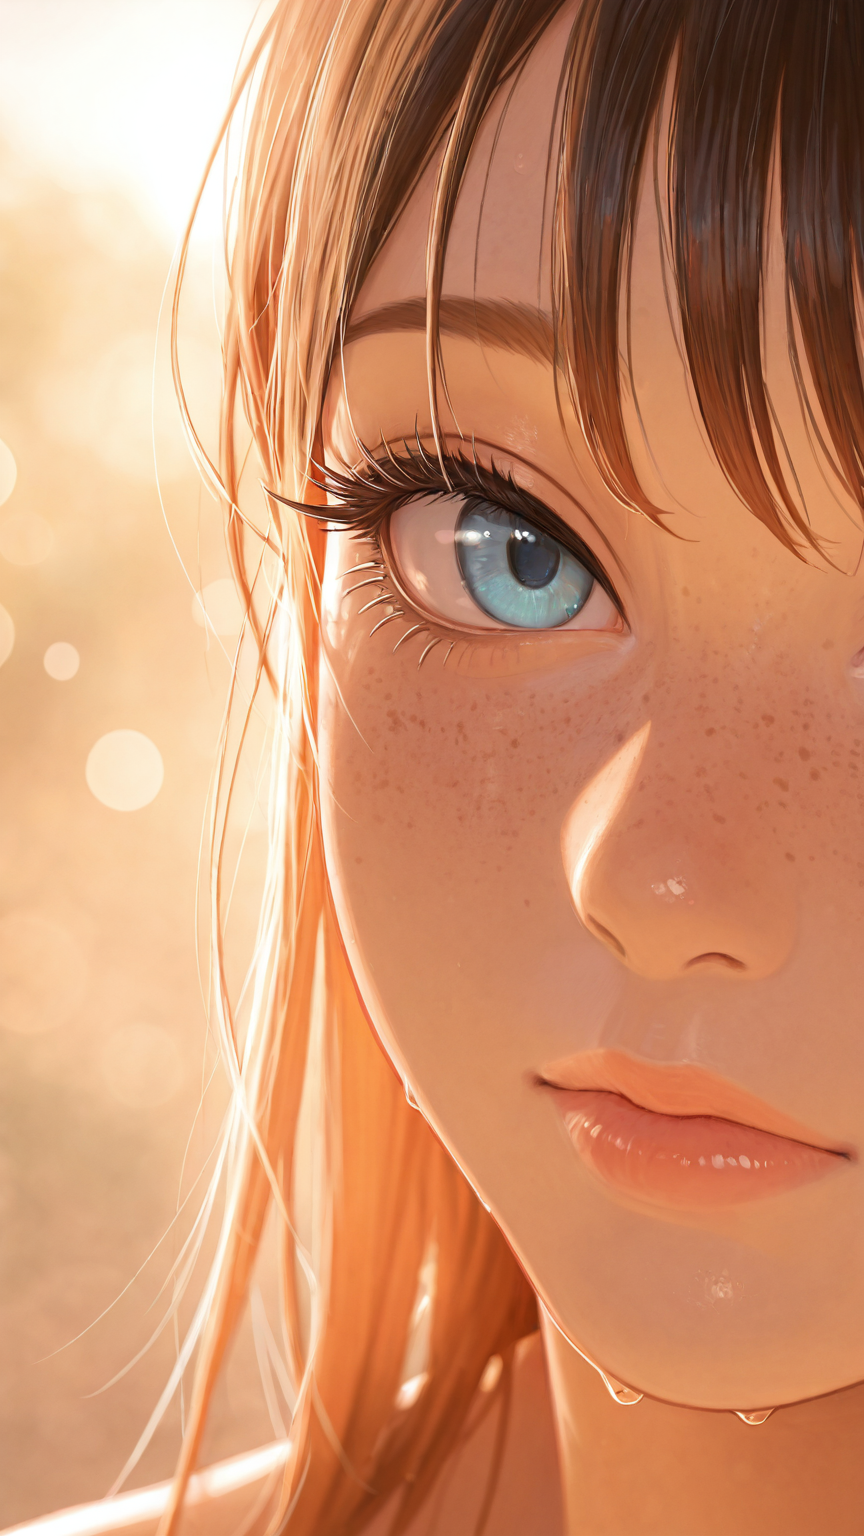
The difference between 0.3 and 0.4 denoise strength during Hires.fix is the difference between “nice” and “wow.” I’ll show you exactly where that line is.
Raw upscaling — just making an image bigger — is one of the most common disappointments in AI image generation. You have a great 512×512 generation, you scale it to 1024×1024, and… it looks like a great 512×512 image stretched to fit a bigger frame. The details didn’t improve. The textures didn’t sharpen. You just got a bigger version of the same slightly-soft image.
The key insight is that upscaling and detail enhancement are two different things, and the best results come from doing both — in the right order, with the right settings. That’s what this guide is about.
Why Raw Upscaling Isn’t Enough
Standard upscaling algorithms — even good ones like Lanczos or basic bicubic — work by interpolating between existing pixels. They can make an image larger, but they can’t invent detail that wasn’t there. You get a smoother, bigger image, not a more detailed one.
AI-powered upscalers like RealESRGAN and 4x-UltraSharp are better. They’ve been trained on pairs of low-resolution and high-resolution images, so they can predict what detail should exist and fill it in. But they’re still working from a fixed input — they don’t understand your prompt, your character, or the artistic intent behind the image.
That’s where the Hires.fix approach comes in: upscale the image, then run it back through the diffusion model at low denoise strength to add prompt-aware detail. The upscaler handles the resolution, and the model handles the content.
The Hires.fix Approach: Upscale Then Re-Diffuse
Hires.fix is available in txt2img workflows (in A1111/Forge) and can be replicated in ComfyUI with a KSampler connected to an upscaled latent — essentially an img2img operation on your upscaled image. The concept is the same either way: generate at base resolution, upscale, then apply a second diffusion pass at reduced denoise strength.
How it works:
- Generate your image at base resolution (e.g., 512×512 for SD 1.5, 1024×1024 for SDXL)
- An upscaler enlarges the image (typically 2×)
- The diffusion model runs again on the upscaled image with low denoise strength
- The result has both higher resolution and more detailed content
The denoise strength sweet spot:
This is where the magic — and the frustration — lives.
- 0.2–0.3: Minimal changes. The image gets slightly sharper and cleaner, but the composition stays essentially identical. Safe, predictable, sometimes underwhelming.
- 0.3–0.45: The sweet spot for most use cases. Details get noticeably enhanced — fabric textures appear, hair strands become distinct, facial features sharpen — while the overall composition remains stable.
- 0.45–0.6: Significant re-interpretation. The model starts adding or changing elements. Great if you want creative variation, risky if you need consistency.
- 0.6+: Essentially re-generating the image using the upscaled version as a rough guide. The composition may shift substantially.
nobin’s testing confirmed this hierarchy. At low denoise values, Hires.fix acts as a detail enhancer. Push too high, and you’re back to the unpredictability of full generation — but now at higher resolution, which takes much longer.
Choosing Your Upscale Model
The upscaler you choose before the re-diffusion pass matters more than you’d think. nobin tested extensively across the available options, and the results vary significantly by use case.
For anime and illustration:
- R-ESRGAN 4x+ Anime6B — Smooth, natural upscaling that preserves the hand-drawn quality of anime styles. nobin’s go-to choice for most illustration work.
- 4x-AnimeSharp — Emphasizes fine details and clean lines. Great when you want maximum crispness in character art.
For photorealistic and semi-realistic:
- 4x-UltraSharp — The all-rounder. Works well across both realistic and anime styles with consistently high quality output.
- R-ESRGAN 4x+ — Optimized for photographic content. Produces natural-looking detail enhancement without the over-sharpening that some models introduce.
For general use:
- DAT×4 — Good balance of sharpness and natural appearance across styles
- 4x_foolhardy_Remacri — Notable for brightening and vivid colors, which can be a benefit or drawback depending on your target
Models to use carefully:
- Latent upscalers are fast and work well when combined with higher Hires.fix step counts, but can introduce noise if not tuned properly
- Lanczos/Nearest — Simple mathematical interpolation. Lightweight but rarely the best choice when AI upscalers are available
- SwinIR 4x — Highest quality for realistic content, but also the heaviest processing load
A practical note on Hires steps: For AI-based upscalers (ESRGAN family, UltraSharp, etc.), setting Hires steps to 0 (default) often works fine — the upscaler itself handles detail. For latent upscalers, increasing Hires steps to 15-20 can meaningfully improve detail, since the latent approach relies more on the re-diffusion pass.
Tile-Based Upscaling for Large Images
When you need to go beyond 2× upscaling, or when your GPU can’t handle the full upscaled image in one pass, tile-based approaches become essential.
Ultimate SD Upscale is the standard tool for this in the Stable Diffusion ecosystem. It works by splitting the upscaled image into overlapping tiles, processing each tile through the diffusion model independently, then seamlessly merging the results.
Why tiles matter:
- Memory efficiency — Processing a 4096×4096 image in one pass requires enormous VRAM. Tiles let you process it in manageable chunks.
- Consistency — With proper overlap settings, tile boundaries are invisible in the final output.
- Speed — nobin found Ultimate SD Upscale to be significantly faster than Hires.fix for batch processing, while maintaining quality that’s close enough for most purposes.
When to use which approach:
nobin developed a practical rule after extensive testing:
- Hires.fix — When you’re sitting at your desk and can review results in real-time. Higher quality, slower processing. Best for individual images you care about.
- Ultimate SD Upscale — When batch processing or running overnight. Slightly lower quality ceiling but much faster, and it preserves the original composition more faithfully.
The key advantage of Ultimate SD Upscale is that it enlarges without significantly altering the source image — it’s conservative by design. Hires.fix, by contrast, re-diffuses and can change composition, especially at higher denoise values.
Detail Enhancement Passes: Face, Hands, and Texture
Upscaling improves everything proportionally, but some areas need disproportionate attention. Faces, hands, and fine textures like fabric and hair benefit from targeted enhancement passes.
ADetailer for face and hand refinement:
ADetailer detects faces and hands in your image and runs a localized inpainting pass to fix or enhance them. This is different from whole-image upscaling — it’s surgical correction of the areas that matter most.
Available detection models and their targets:
| Model | Target | Style |
|---|---|---|
| face_yolov8n.pt | Faces | Anime and realistic |
| face_yolov8s.pt | Faces (higher accuracy) | Anime and realistic |
| hand_yolov8n.pt | Hands | Anime and realistic |
| person_yolov8n-seg.pt | Full body | Anime and realistic |
| mediapipe_face_full | Faces | Realistic only |
The optimal pipeline: nobin found the best results come from combining Hires.fix for overall quality improvement with ADetailer for targeted face, hand, and body refinement. Hires.fix raises the floor for the entire image, and ADetailer polishes the critical details.
You can stack multiple ADetailer passes — one for faces, one for hands, one for body proportions — but each pass adds processing time. For batch work, nobin typically used just face detection to keep processing manageable.
Fabric and texture detail:
Fine textures — lace, knit patterns, hair strands, skin pores — benefit most from the re-diffusion pass in Hires.fix. These are exactly the kind of details that the model can hallucinate convincingly because they follow repeating patterns. A good checkpoint “knows” what fabric texture should look like at higher resolution and will fill in those details naturally during the Hires.fix pass.
The Checkpoint Swap Trick
One of the more creative techniques nobin discovered: you can use a different checkpoint for the Hires.fix pass than the one used for initial generation.
Why would you do this?
- Generate with a checkpoint that excels at character accuracy (e.g., Illustrious-based models with strong tag understanding), then upscale with a checkpoint that excels at visual quality or a different art style
- Use an anime checkpoint for generation, then a realistic checkpoint for Hires.fix to create anime-to-realistic conversions
- Generate with a fast checkpoint at low steps, then apply a quality-focused checkpoint during upscaling for the final polish
nobin demonstrated this by generating characters with an Illustrious-based checkpoint (great for character tag accuracy) and then applying AnimagineXL4 during Hires.fix for its distinctive art style. The result preserved the character identity from the first checkpoint while gaining the aesthetic qualities of the second.
An important caveat: Lower Sampling Steps (around 10) during the initial generation actually produced better results with checkpoint swapping than higher step counts. More steps means the initial checkpoint’s style is more firmly established, making the second checkpoint’s influence less pronounced.
Balancing Sharpness vs. Artifacts
Every detail enhancement technique is a trade-off between sharpness and artifacts. Push too hard and you get:
- Over-sharpening halos — bright outlines around high-contrast edges
- Texture hallucination — the model inventing patterns that weren’t intended (plaid becoming herringbone, smooth skin becoming textured)
- Tile seams — visible boundaries in tile-based upscaling when overlap is insufficient
- Composition drift — Hires.fix changing the image content, not just enhancing it
Practical guidelines:
- Start conservative. Begin with denoise 0.3 and increase only if you need more detail. You can always re-run with higher settings; you can’t un-ruin a good image. For best results, make sure your embedding optimization is dialed in before upscaling — quality embeddings in your negative prompt prevent artifacts from being amplified during the enhancement pass.
- Check at 100% zoom. Enhanced images look great zoomed out. Always check details at full pixel resolution before committing.
- Process one image first. Before batch processing hundreds of images, run your full pipeline on a single test image. nobin noted that roughly 2% of batch-processed images have visible artifacts — catching your settings issues on one image is much cheaper than discovering them across 500.
- Match upscaler to content. Anime upscalers on realistic images (and vice versa) can introduce subtle style artifacts that are hard to pinpoint but make the image feel “off.”
The Efficient Workflow
Based on nobin’s extensive experimentation, here’s the workflow that balances quality with practicality:
- Generate at base resolution — txt2img with your prompt, no Hires.fix, no ADetailer. This is fast and lets you evaluate compositions quickly.
- Curate ruthlessly — Browse your generations and select only the ones worth enhancing. This is the biggest time saver in the entire pipeline.
- Batch enhance the winners — Move selected images to an input folder, then use img2img batch processing with ADetailer (face + hands) and Ultimate SD Upscale. Let it run overnight or while you’re doing other things.
- Final review — Check the batch output for the ~2% of images that may have processing artifacts. Fix or discard them.
This approach separates the creative work (generating and selecting) from the mechanical work (upscaling and enhancement), letting you use your time and GPU cycles most efficiently.
How This Connects to AI Companion Platforms
This is why your companion’s images look crisp and detailed on high-res screens — platforms run upscaling and detail enhancement pipelines to ensure visuals look their best at any display resolution.
When a companion platform generates an image of your AI companion, it doesn’t just render at base resolution and call it done. There’s an entire post-processing pipeline: upscaling for resolution, detail enhancement for visual quality, face refinement for character consistency, and quality checks for artifact prevention.
Platforms like Candy.AI and YUKIKO.AI need every image to look sharp whether you’re viewing on a phone screen or a 4K monitor. The techniques in this guide — Hires.fix passes, targeted ADetailer refinement, appropriate upscaler selection — are the backbone of how they deliver that consistent quality.
The checkpoint swap trick is particularly relevant for companion platforms. Many use specialized checkpoints for character accuracy during initial generation, then apply quality-focused models during upscaling to ensure the final output is both accurate to your companion’s appearance and visually polished.
Credits & Source
This guide is adapted from nobin’s original Japanese articles on note.com/nobinlog. His systematic comparisons of upscaler models, Hires.fix parameters, and batch processing workflows provided the technical foundation for the enhancement techniques covered here.
Check out his original posts for full visual comparisons and animated GIF demonstrations: